
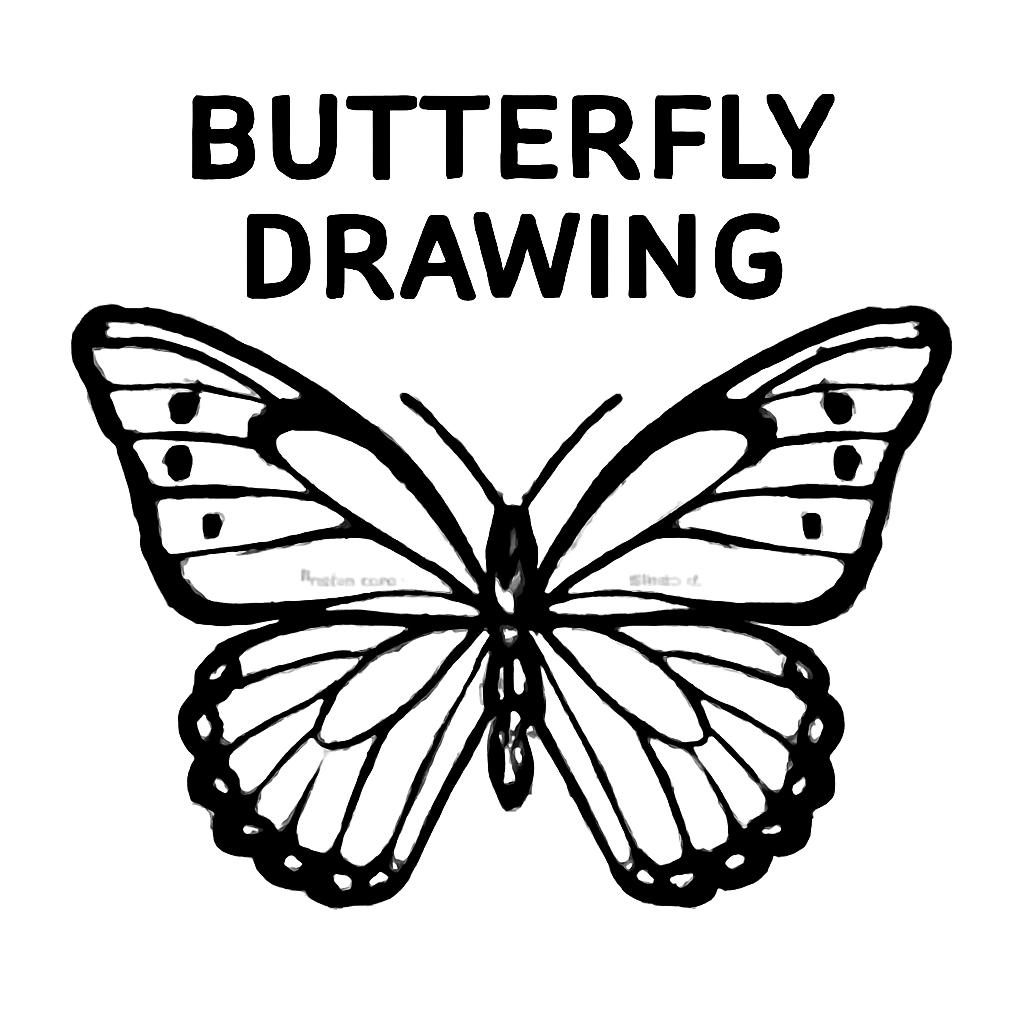
Butterflies are a classic symbol of beauty metamorphosis and freedom. The graceful form and wings of fragile material the colourful design and the slow and elegant flight do not captivate poets and thinkers alone but also artists. There are so many different ways one can draw a butterfly but for all you beginner artists out there I made this simple tutorial that will teach you how to draw a realistic butterfly step by step. Whether you are new to drawing or an old hand learning to draw a butterfly can bring you nothing but joy. This tutorial will take you through everything you need to learn how to draw butterflies from the simplest of straightforward techniques to useful tips and tricks that will help you to be able to render these beautiful creatures on paper.
Why Draw Butterflies?
Before we fly into the technical stuff let’s take some time to learn why butterflies are a favorite subject of artists. Butterflies are the jewels of nature their colors vibrant their wing patterns intricate. They also symbolize something more profound change regeneration, and the transient nature of existence. Creating a butterfly can be an act of therapy, Forcing the artist to be patient and judge their size and to take their pattern into consideration not to mention it gives you a creative aspect into what colors and patterns you choose for your butterfly.
From a personal project to an art class to just a fun exercise, Butterfly Drawing butterflies provides many artistic rewards. These include:
Enhance Observation: The wings of a butterfly is made up of beautiful patterns and delicate details, which require concentration to observe closely. Sketching them helps you to practice seeing and recording little details.
Sketch symmetry: Butterflies have symmetrical wings. Drawing these can be a good exercise in learning how to make balanced-looking pieces.
Creative Discovery: There are tons of colors and patterns to discover. You get a little more flexibility to play with colors and come up with something original or lifelike.
Things You Will Require for Butterfly Drawing
To begin drawing butterflies you’ll want to gather a handful of basic tools. The actual tools you use might vary depending on the medium you prefer but the basics are pretty straightforward:
Pencils: You will need a nice set of pencils for sketching. You will need a set of pencils from 2H the hardest to 6B the softest Hard H, 2H pencils: These make light lines hard details Soft B 6B pencils: Great for shading or anything with a soft edge
Erasers: Use a kneaded eraser to lighten small areas without erasing so harshly, and a precision eraser for smaller adjustments and to bring out highlights.
Paper: Go for a smooth, medium or heavyweight paper that can take the pencil pressure for sharp details and can handle some erasing without tearing. A sketchbook or a drawing pad is usually a nice option.
Colored Pencils Markers Optional If you want to work with color, a good set of colored pencils or markers can make your butterfly wings look vivid and realistic.
Ruler (Optional): A ruler can be used to ensure that your designs are symmetrical but many artists enjoy freehanding the symmetry for a more organic look.
Step by Step Butterfly Drawing Tutorial
With everything in place let’s learn how to draw a butterfly. We’ll simplify it with easy to follow steps
Draw the Body
A butterfly’s body is long, slender with segments. Begin by sketching an oval or stretched out rectangle for the thorax (the middle portion of the body). On top of this segment there can be a smaller more rounded head. Continuation of the abdomen, a long slender part to join with the thorax, decreasing with progression downward.
2) Raise two antennae out of the head. They’re also usually curved, so give them a little arc to help make them look more lifelike.
Sketch the Wings
Since butterfly wings are typically symmetrical, begin by drawing a basic wing shape for both the top and bottom wings. The upper wings are typically bigger and longer than the lower wings.
The wings are to begin from where the body ends at the top and stretch out. Use soft lines (we will darken them later) and try to keep both wings symmetrical. Butterfly-shaped wings are meanwhile generally more of a stretched “V” for the upper wings and more like an “L” or “D” for the bottom wings.
Tailor the Wing Shapes
As soon as the primitive shapes are ready we can start to carve out the shape of the wings. Butterflies’ wings are hardly ever perfectly smooth, so add some natural waviness or peaks along the edges. This is the suggestion that the top edges of the wings are more pointed, compared to the more rounded look of the bottom of the wings.
Notice how the wings are laid. In several butterflies the upper wings overlap the lower wings. I lightly indicate where these overlaps are in order to give more dimension to your drawing.
Add the Veins
Butterfly wings are composed of fragile veins that reach out from the body. These veins are such an important identifier of the butterfly wing, and they also help give a sense of reality. Start adding these veins softly in the top and bottom wings. The veins have a structure that is usually patterned, few branches that are broad and branch out laterally into numerous, fine veins.
It is useful to take lessons looking at actual butterflies or images, to see how the veins run. Also try to make the veins very fine and subtle (do not draw them too thickly in the beginning).
Detail the Wings
Now that you have the overall structure in place, you can begin to add more detail. The wings of butterflies usually have unique patterns or spots. These may be as simple as a dot or as complex as lines or swirls. Look at a picture to see what the pattern is on the particular type of butterfly that you are drawing.
Create texture within the details by varying your pencil pressure. Use light strokes for delicate patterns and dark ones for places that should be more striking or shaded.
Shading and Texture Put Shading in the Textures.
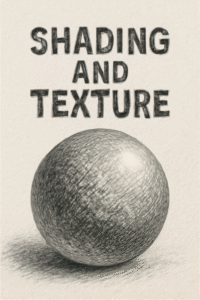
Shading is a vital part of making your butterfly drawing appear real. Here you should emphasize areas that will naturally have more shadow like under the wings and body. Many butterfly wings are semi-translucent, so the shading will lend an appearance of thinness and airiness.
With softer pencils (B or 6B) make a soft shading on the wings, in the direction of the vein’s natural ondulation. Experiment with a tortillon or Blending stick for a smoother Medium change from lights to darks.
You can add just a little bit of Texture by lightly hatching or Crosshatching in the section where the veins are more Pronounced and near the base of the wings.
Add Color (Optional)
If you’d like to color in your butterfly drawing now is a good time. Butterflies exist in a wide variety of colors including bright blues and oranges subtler browns and whites. You may color it with colored pencils watercolors or markers as u like.
Begin with the lightest of colors and layer over darker in order to deepen the dark. Concentrate on the veins and the wing patterns to let the veins stand out. Just make sure to lightly blend your colors for a natural look especially when the wings can have a gradient between colors.
Final Touches
Step back and consider your drawing. Make any 1 last finishing detail changes to bring out the details and shading. You may darken shadow areas add more detailed lines in the wings or highlights to the body and wings.
And lastly, erase any stray pencil marks or areas that you need lighter highlights with a clean eraser. A gentle touch of the eraser and it will light up the wings; so lifelike.
How to Draw A Butterfly: Tips for Making Butterfly Drawings Better
Use Reference Images: Butterfly wings come in many shapes, sizes and colors. If you have a reference photo this can take you through the species you are drawing to ensure that you replicate details accurately.
Symmetry: Butterfly wings are symmetrical so try to make them look the same. 11. You can very lightly sketch a vertical line down the center to aid in keeping your work symmetrical on both sides.
Be Detail Oriented: Butterflies are special creatures that tend to have lots of details. Don’t rush through these details. Spend some time looking at the shapes and lines.
Try Different Styles: Although realistic butterfly drawings are stunning they don’t have to be the only style to which you adhere. Consider abstract representations stylized butterflies or even geometric interpretations of the wings for a modern look.
Conclusion
Butterflies are fun to draw and can be beautiful It provides an opportunity to practice different techniques practice observation and produce beautiful art. Whether you are reproducing the brilliant hues of a monarch butterfly or the intricate markings of a swallowtail the act of drawing can be as magical as your subject. So get your pencils and paper ready and maybe a reference photo or two and get drawing these majestic beasts in a variety of stunning postures.